

A district groups several schools together. Each school keeps its own terms, classes, activities and people; the district sits above them so that designated administrators can see every school in one place.
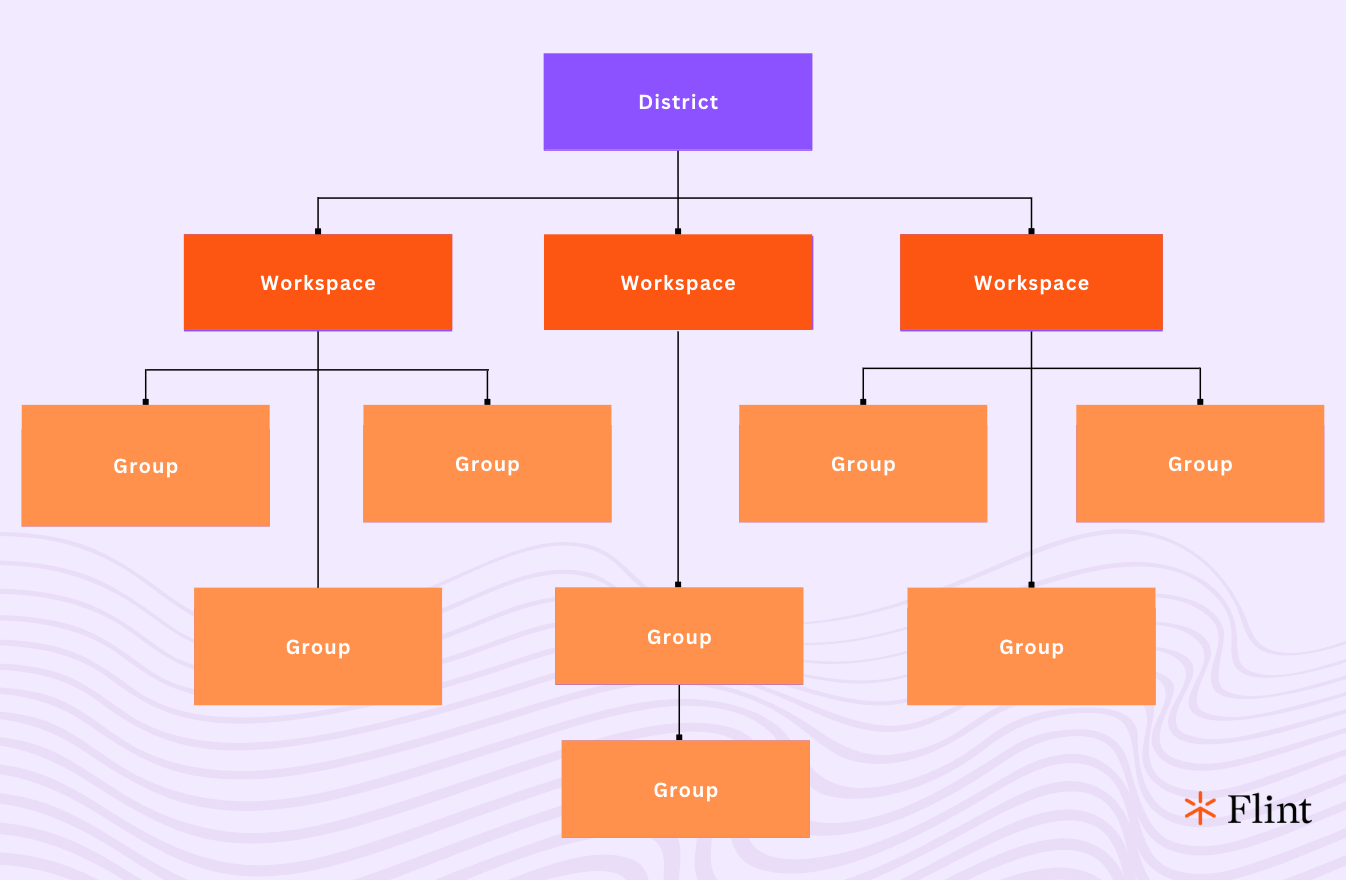
The diagram below uses the older names "workspaces" and "groups" for schools and classes. It also omits terms and shows nested groups: current classes do not nest inside other classes. Today's hierarchy is district → school → term → class. Follow the written steps and video walkthroughs for current controls.
If you don't see a district in Flint, either your school bought Flint on its own, or your district administrator hasn't given you district access yet.
What a district owner can do
Owner is the district role you assign. Owners can view and manage the district along with all of its associated schools, and they can make other people owners.
Open your district
Watch: Find district settings and analytics
- Click your school's name at the top of the left sidebar.
- Under Districts, click Manage districts.
- In the Manage districts window, find your district. Two buttons sit at the end of its row:
- the bar-chart icon opens district Analytics
- the gear icon opens district Settings
Manage districts only appears if you own at least one district.
District analytics
District analytics opens on the Usage tab. An Alignment tab sits next to it, showing flagged messages and how sessions line up with your goals. Use the date range at the top to change the period you're looking at.
The school selector at the top can show All schools or a saved school group. Choose All schools for a district-wide view. Use Manage school groups beside the selector to save subsets of schools. Your selection is remembered for your account and filters the district analytics charts, so check it when you return.
District settings
District settings has three pages in the left sidebar:
| Page | What's on it |
|---|---|
| General | The district's Name, Logo, Tagline, Mission and background, and the Enable white labeling switch |
| Owners | The people who can view and manage the district |
| Schools | The schools linked to this district |
On General and Owners, make your changes, then click Save in the top right. Discard throws away anything you haven't saved. Schools is read-only for district owners; contact the Flint team to change school associations.
Add a district owner
Watch: Add a district owner without email
- Open your district's settings and click Owners.
- Click the Add names or email addresses box and start typing a name or paste an email address. Find the person in the results and click Invite.
- Leave their access set to Owner.
- Click Save. Flint can then offer Send invitation emails for the people you just added, even if they already use Flint. Choose Send emails to notify them, or Not now to leave them added without sending an email.
Give Sparky context for the whole district
The Mission and background field on the General page tells Sparky about your district's educational environment, values and goals, and it applies across all of the district's schools. Schools can add their own on top of it — see providing your school's mission and background to Flint.
Show your district's branding
Turn on Enable white labeling to show your district's logo and tagline in the sidebar of every school in the district. Upload the logo and write the tagline on the same page.
Changing which schools belong to a district
The Schools page lists the schools currently linked to the district. Only the Flint team can add or remove schools here, so if a school is missing or shouldn't be there, get in touch through Learn more about Flint › Help at the bottom of the sidebar.