
Instead of adding everyone by hand, you can bring people, classes, and enrollments into Flint straight from your school's SIS or LMS. Flint connects to your system through Edlink, our integration partner.
Everything below lives in Admin → Settings → SIS and LMS. Staff school owners can manage the connection, including admins and a teacher designated as the active term's creator. Ownership is separate from the Admin or Teacher role label. Student owners of their own free school have only the General and People settings pages, not SIS and LMS.
Connect your SIS or LMS
- Click Admin in the sidebar, then Settings, then SIS and LMS.
- Click Connect. If your school already has a connection, use Add SIS or LMS in the top right instead.
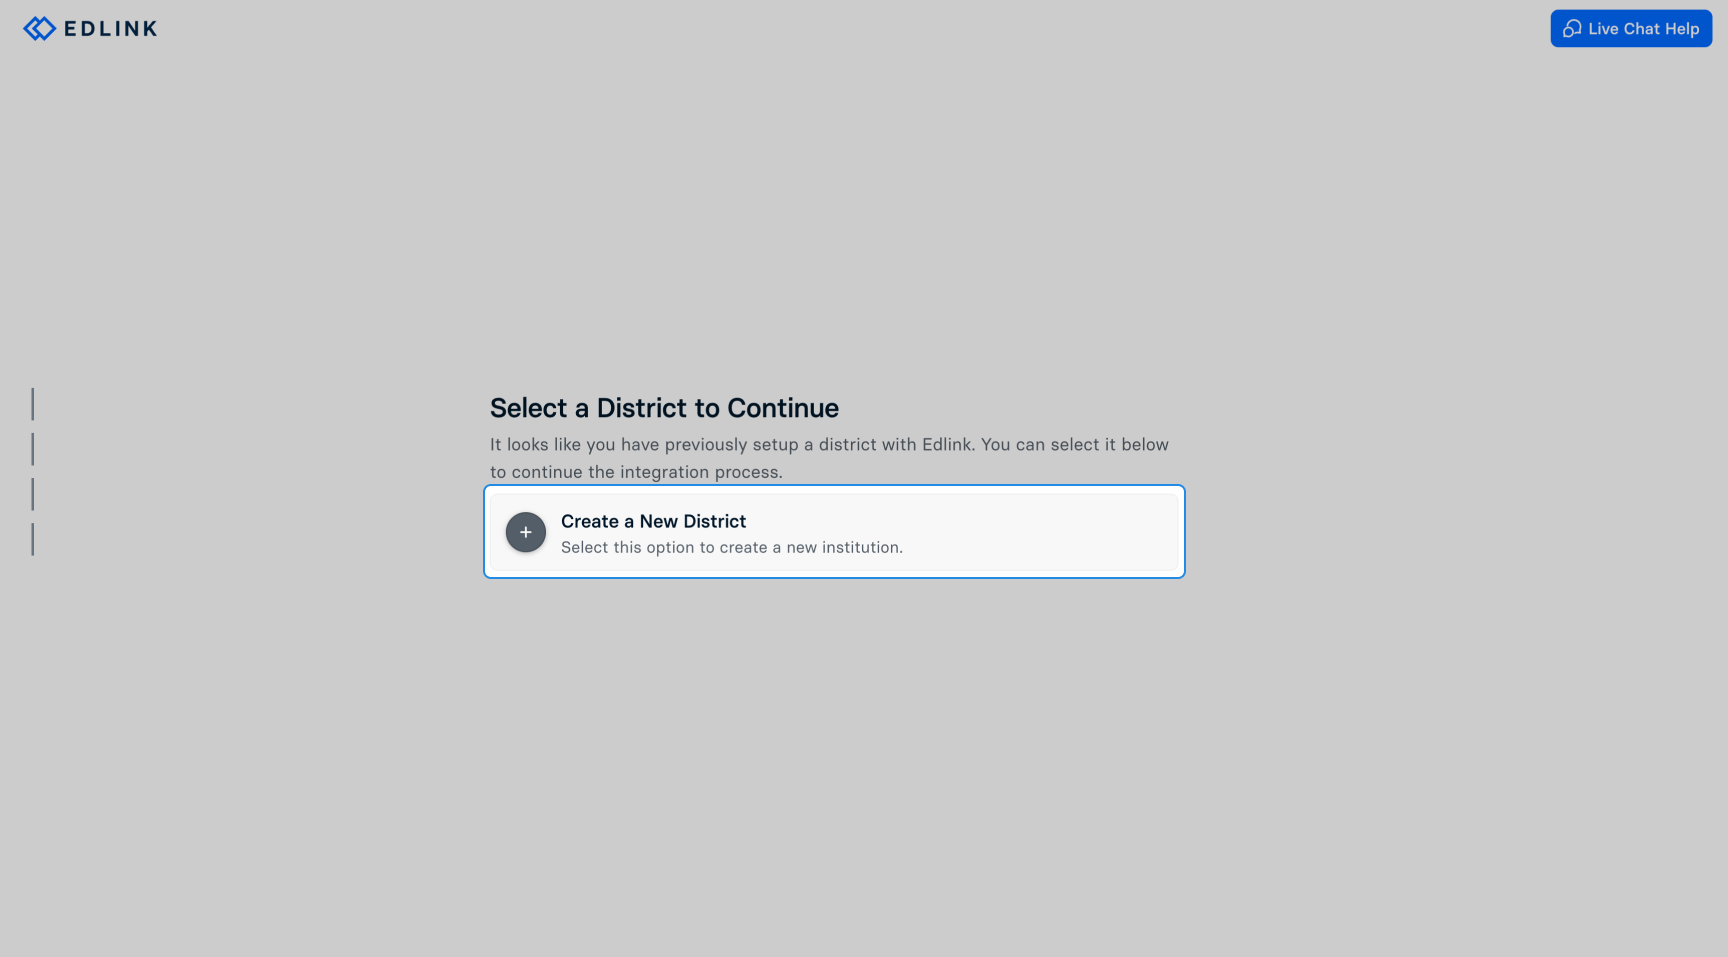
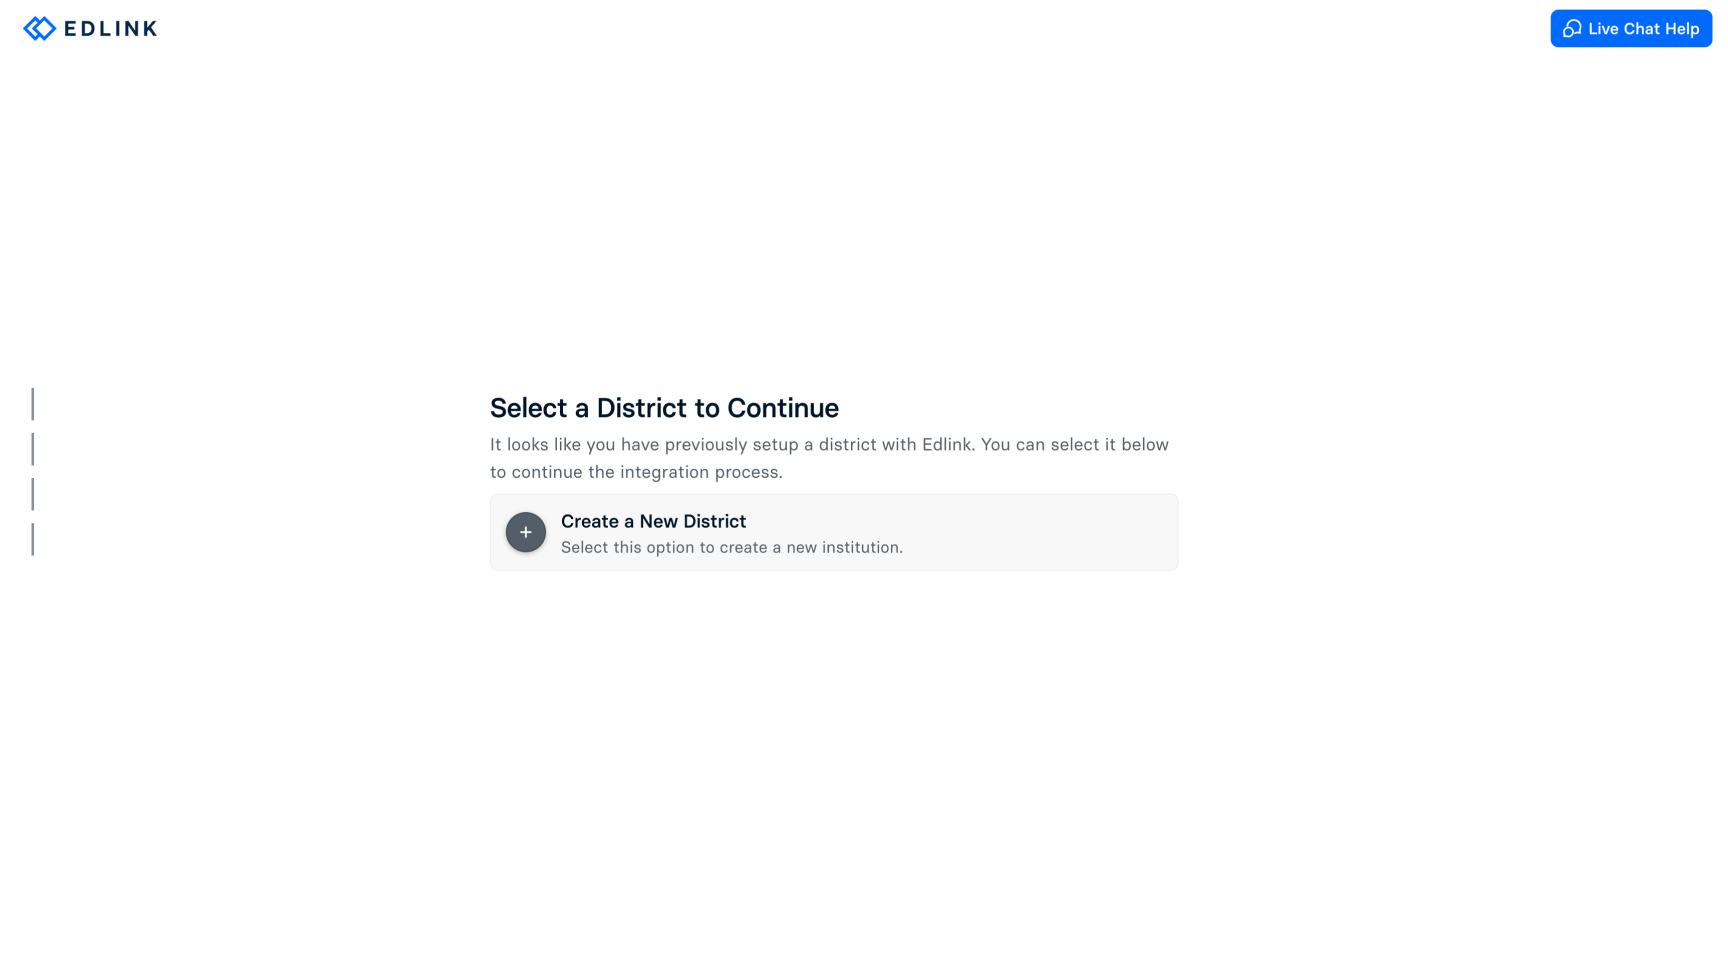
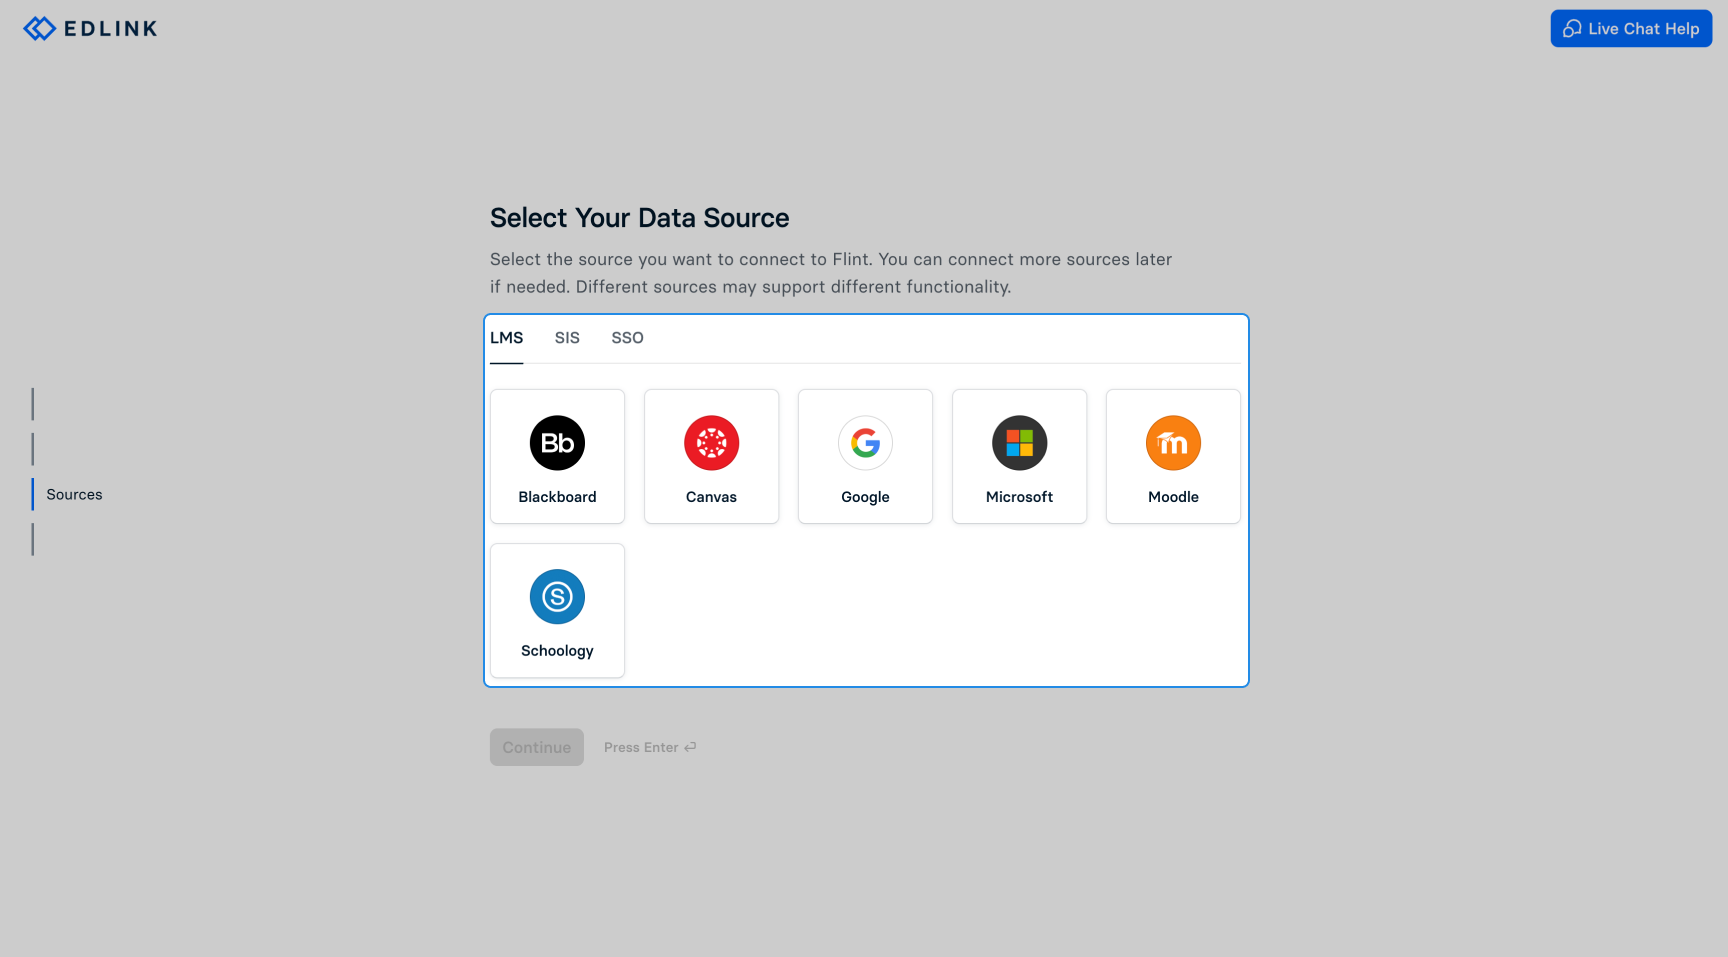
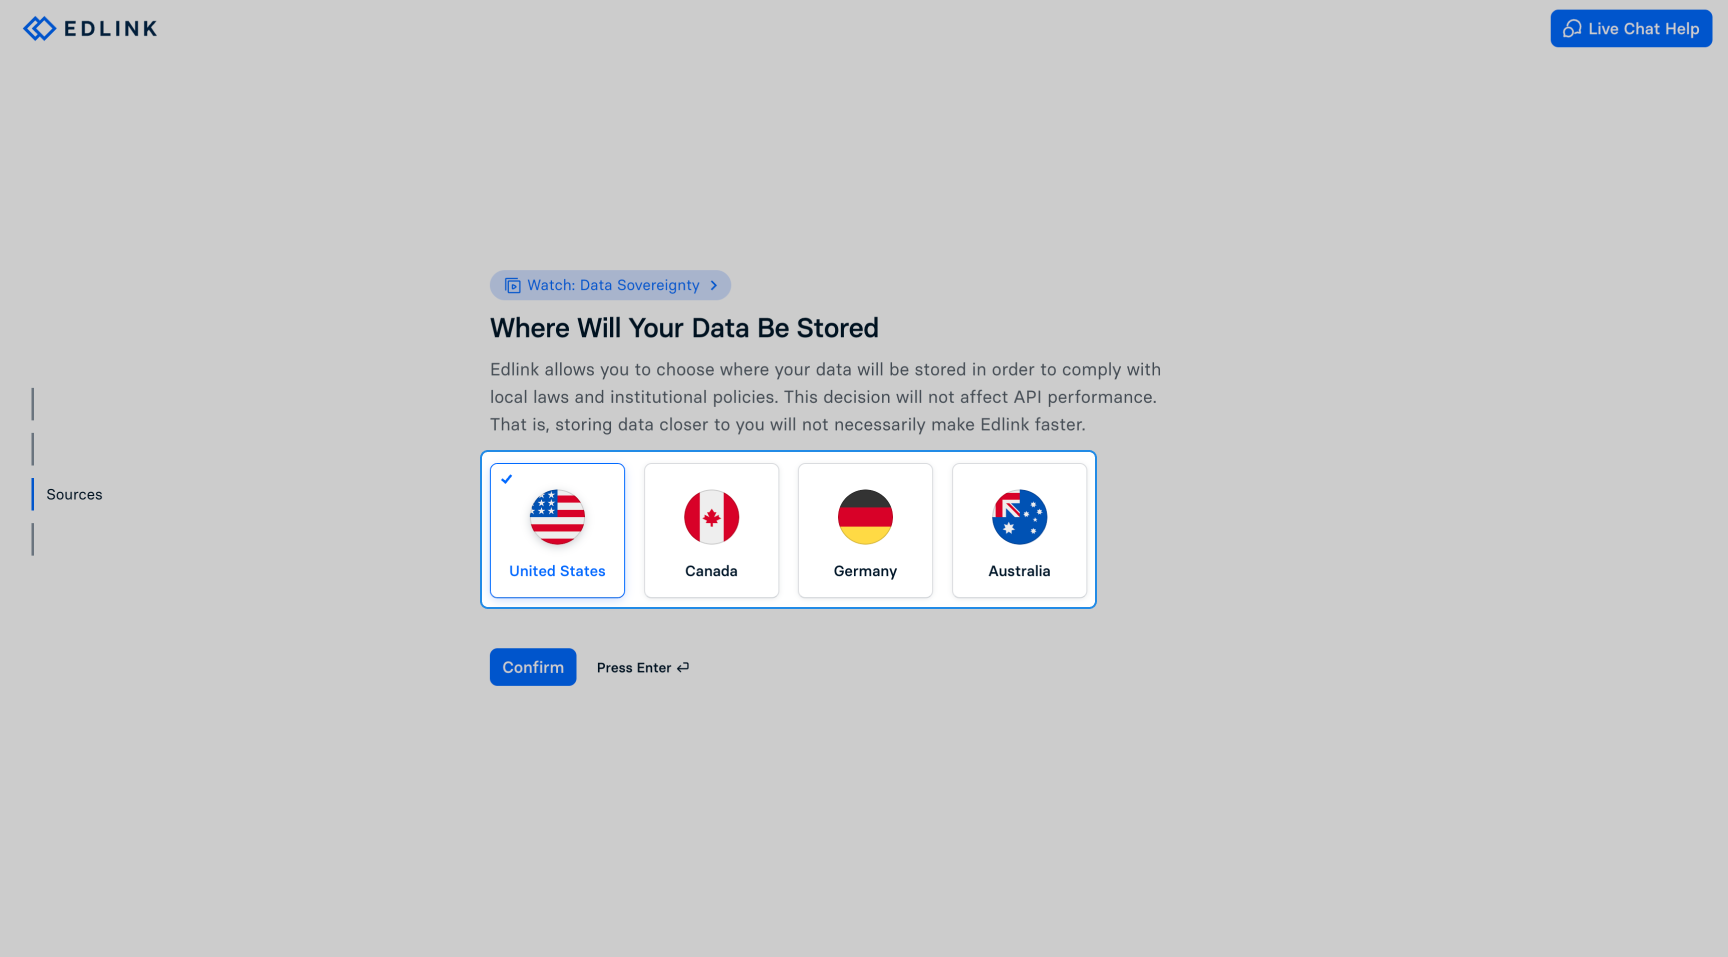
- Flint hands you over to Edlink. Follow its steps: choose or create your district, pick your source on the LMS, SIS, or SSO tab, choose where your data is stored, and sign in to your source system to authorize the connection.
- Edlink sends you back to Flint, and the new connection appears on the SIS and LMS page.
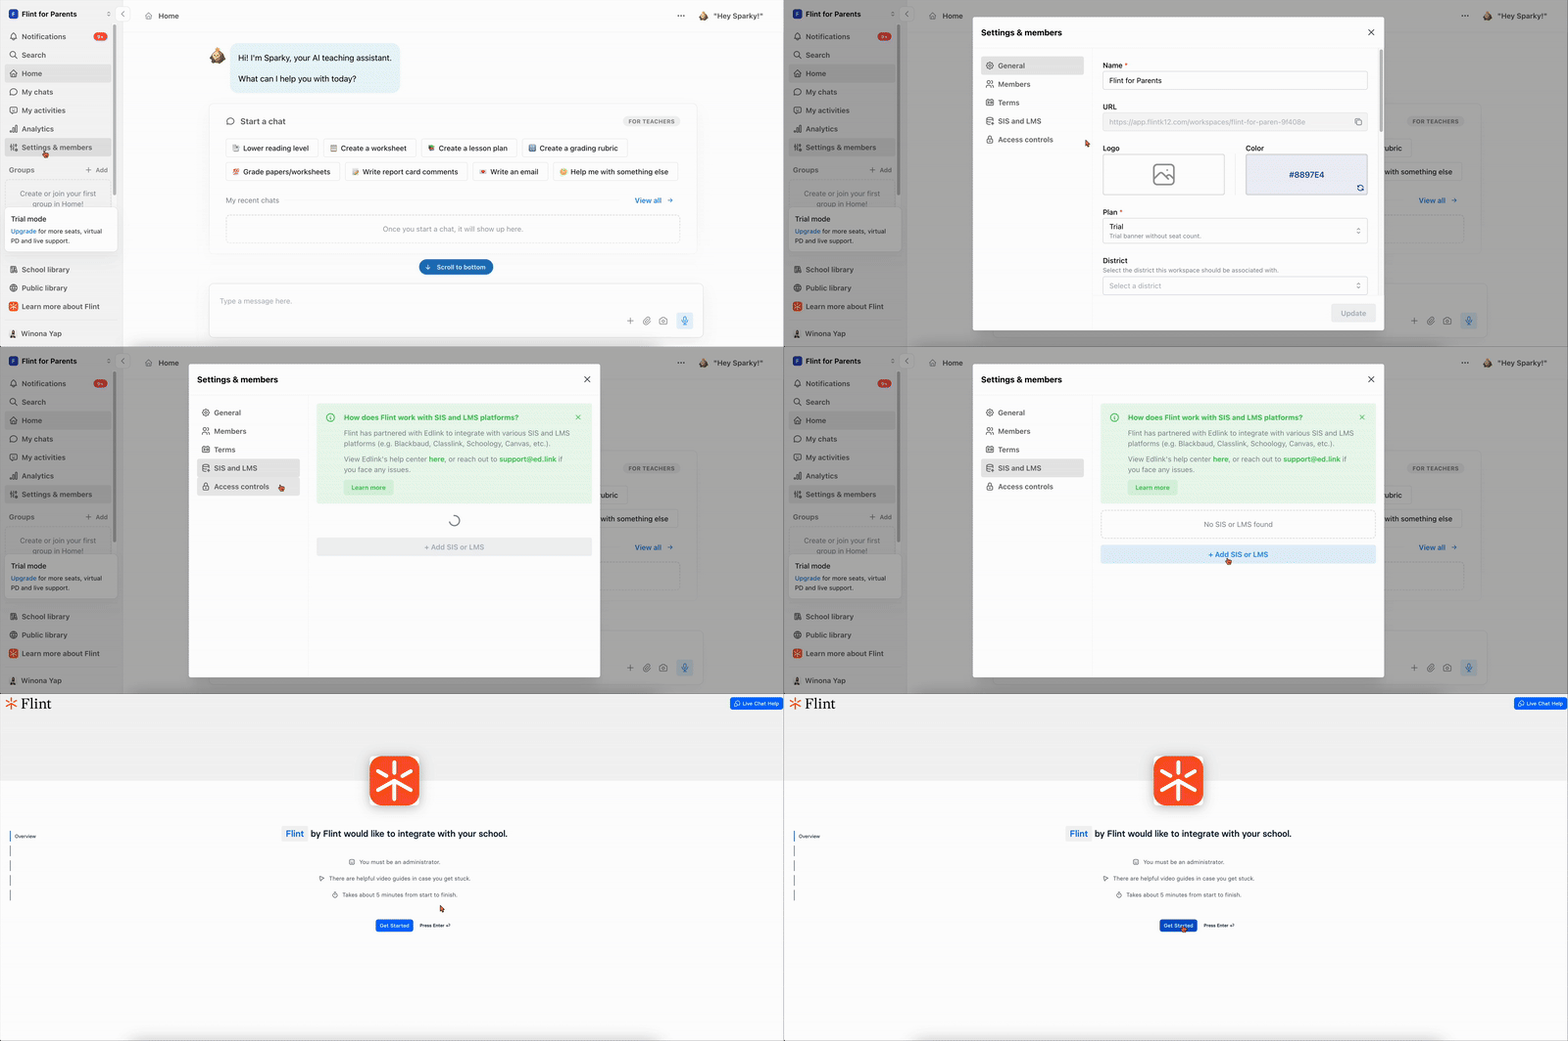
This recording predates the current SIS and LMS settings page, so the Flint screens in it look older than the steps above. It is due to be re-recorded; follow the steps.
Edlink then pulls your data from the source system. Syncs usually complete within 24 hours, so the data may not be ready to import the moment you connect.
If your school uses Flint's UK site, a reminder appears before you leave Flint: on Edlink's data storage screen, choose Germany, then click Confirm. That is the data region UK organisations use.
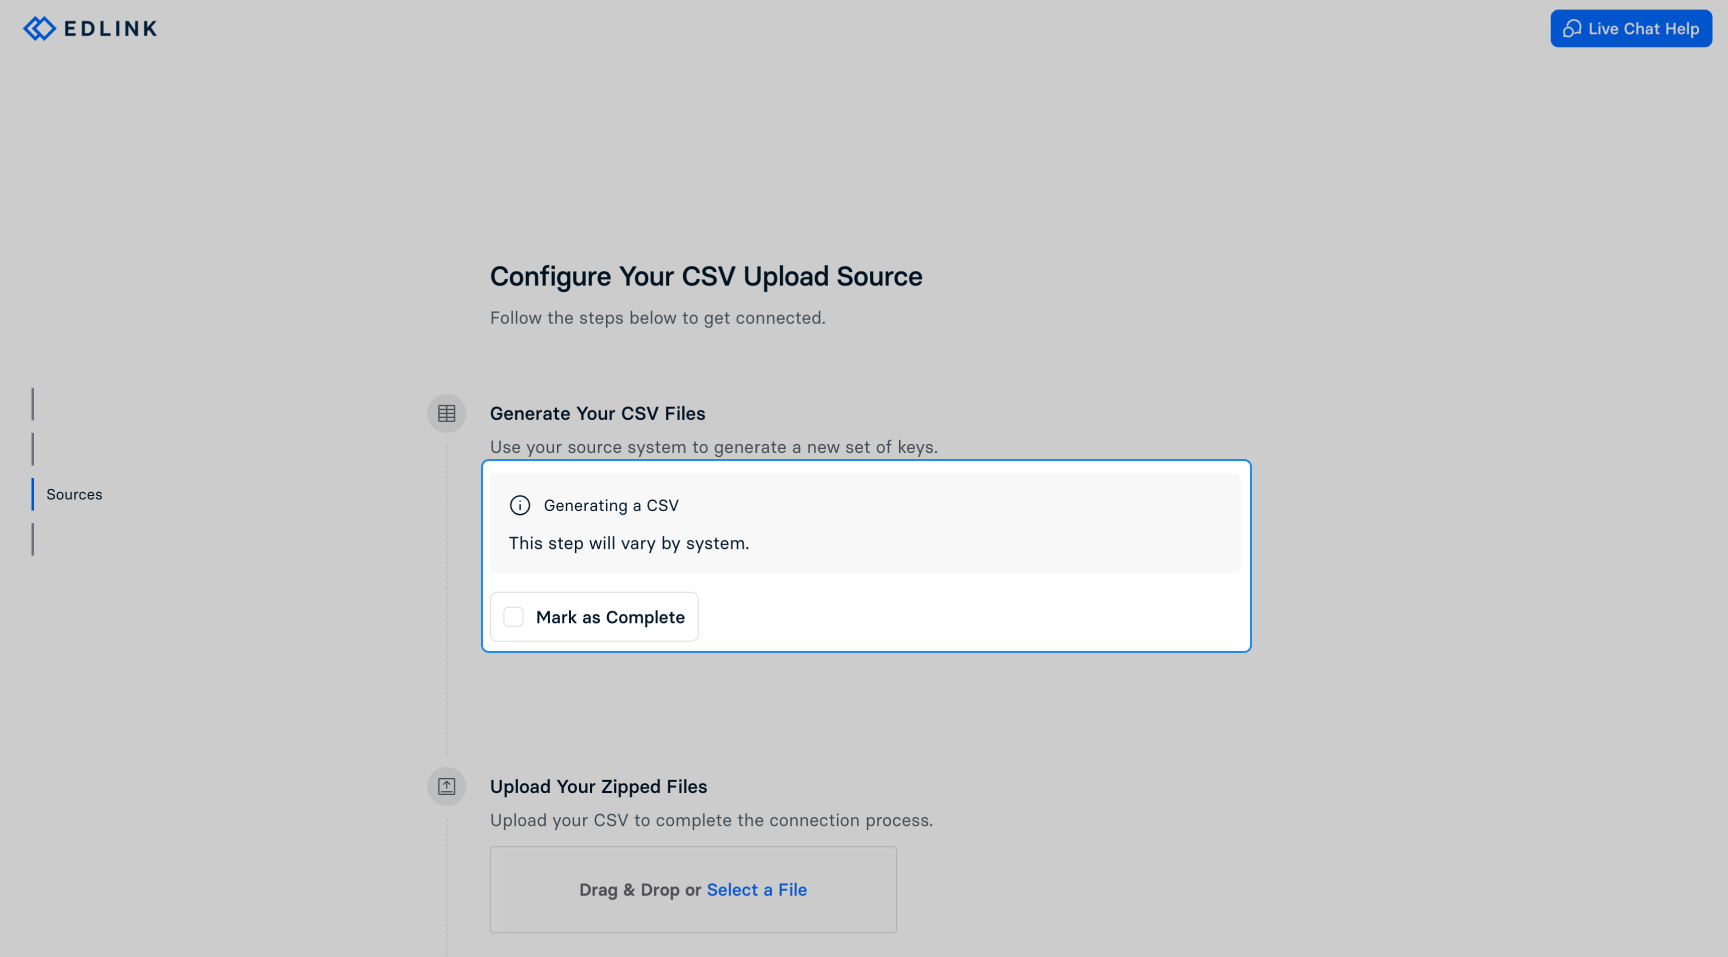
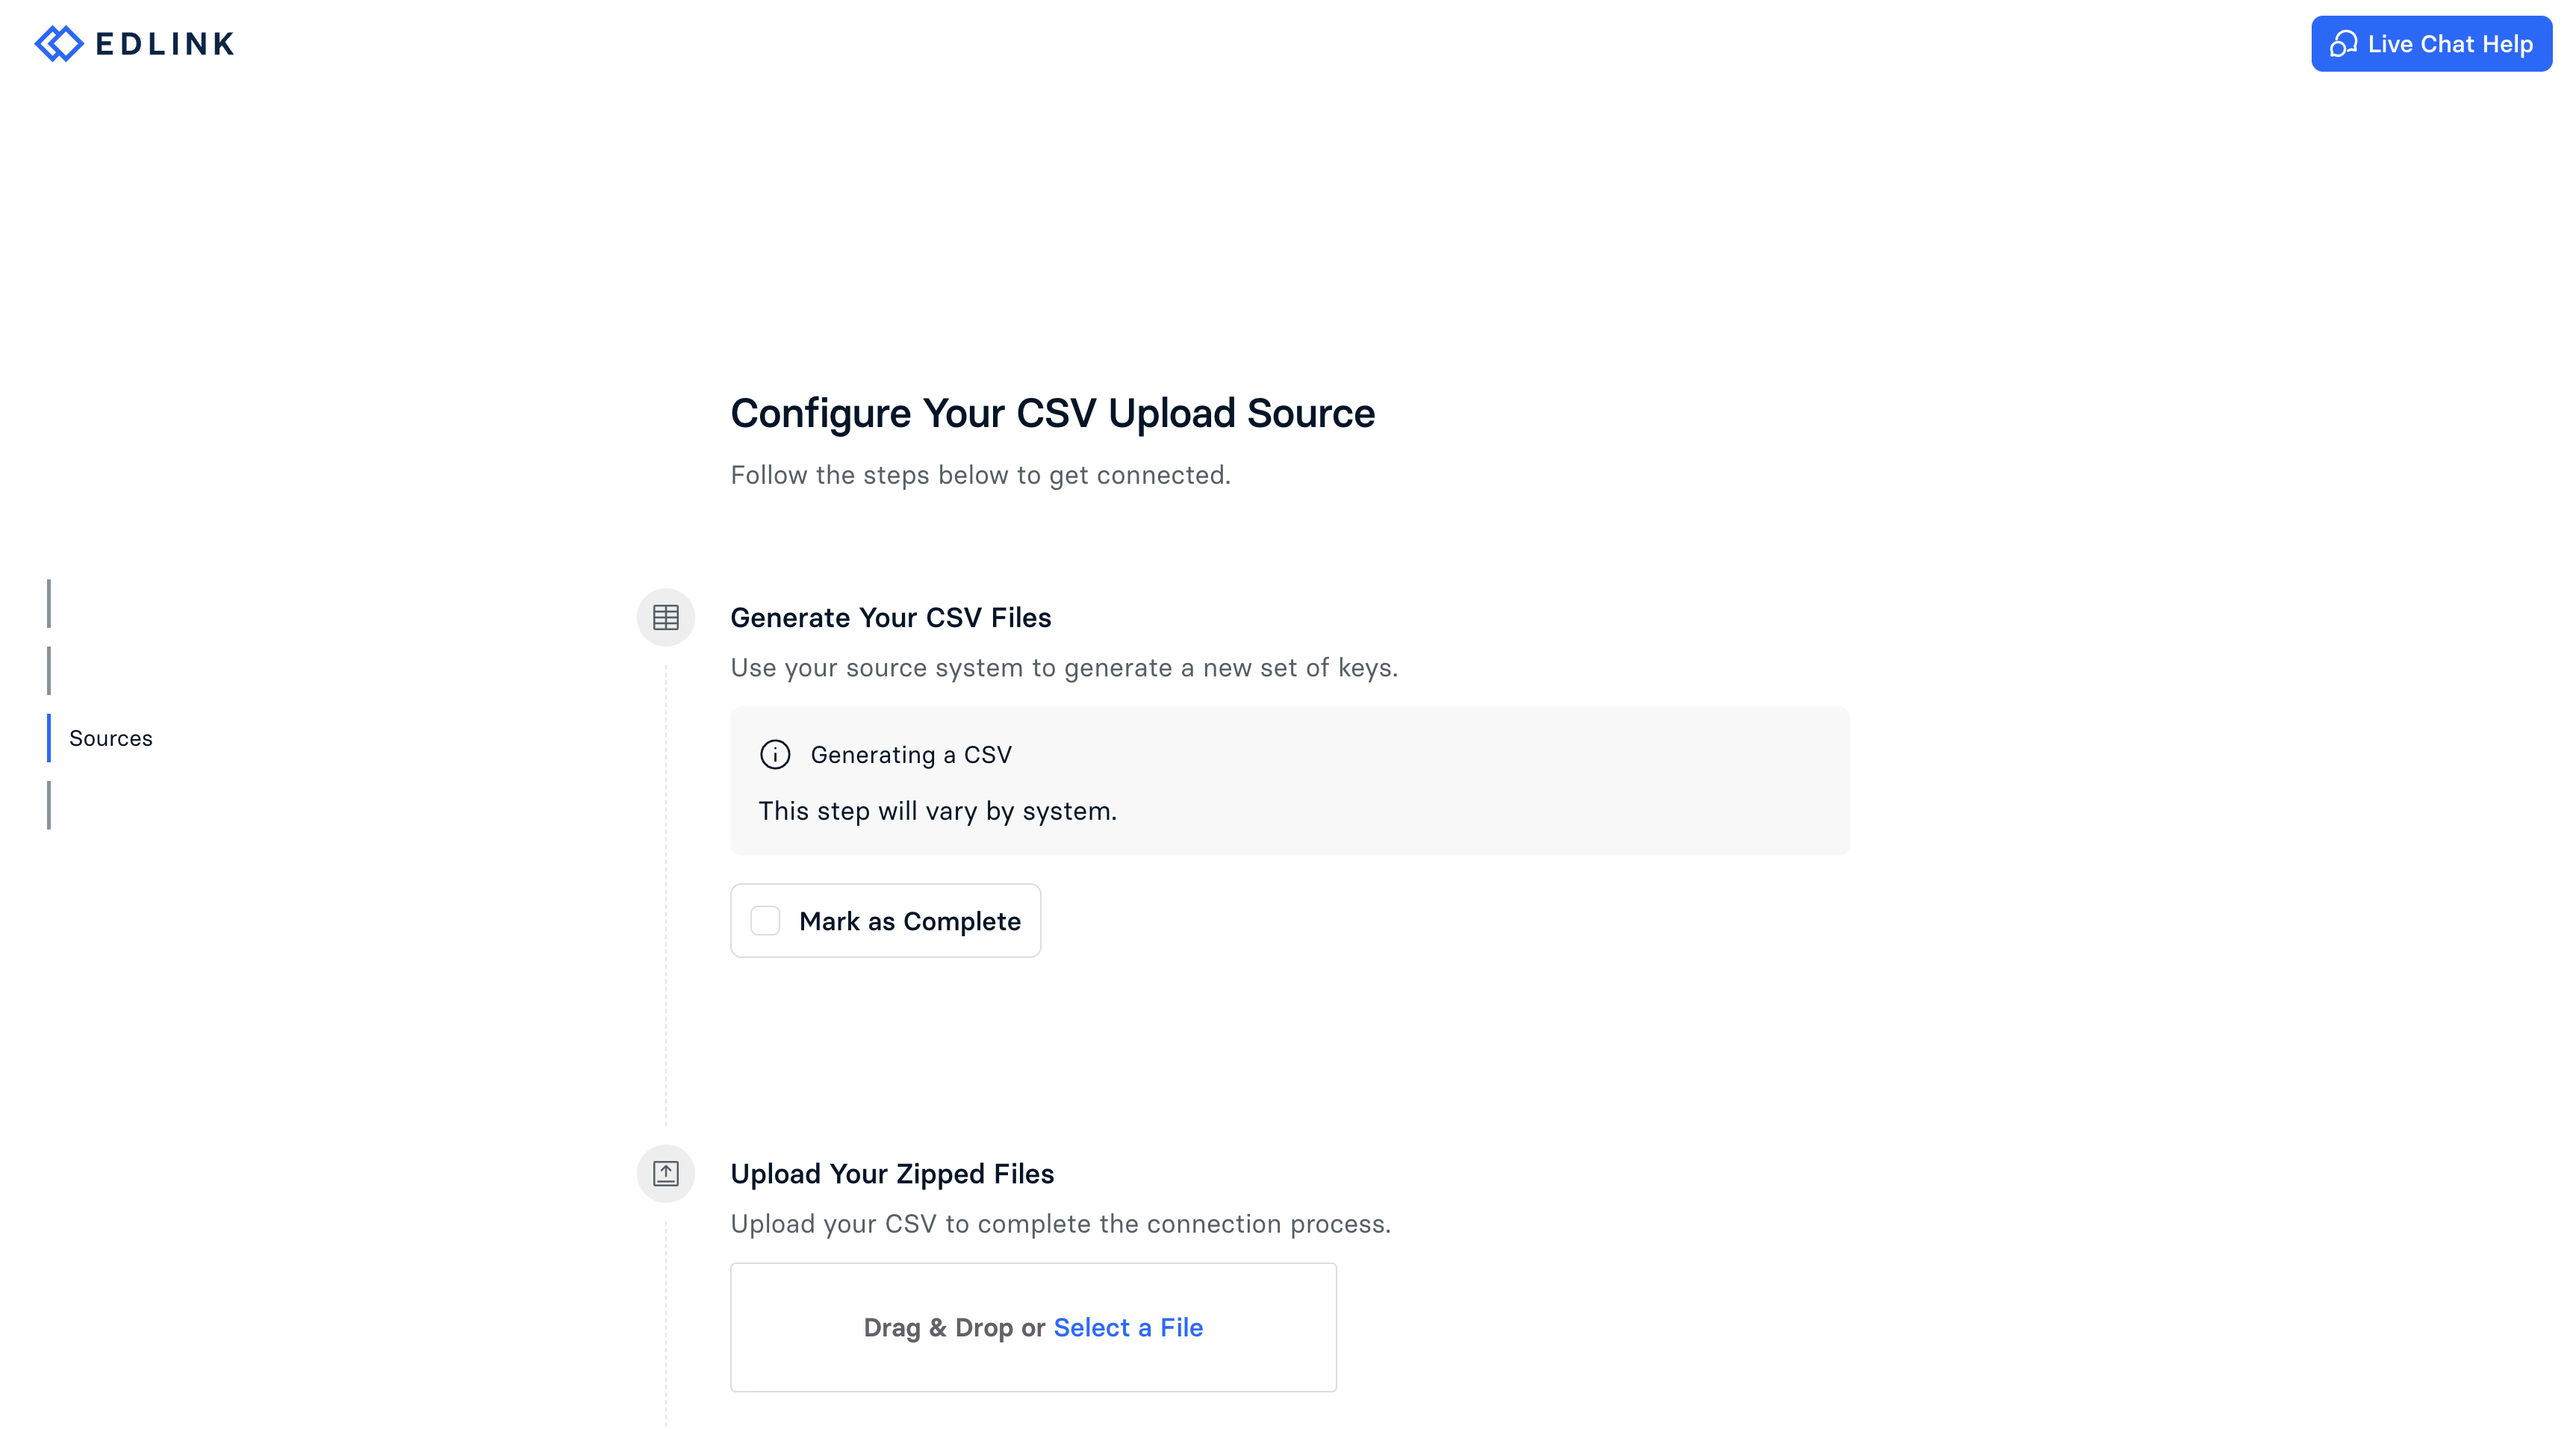
Edlink walks you through a district, a source, a data region, and a confirmation. The exact screens depend on the source you pick — the CSV ones below only appear if you are uploading files rather than connecting a system.
Import people and classes
An import lands in the term you are currently in, so switch to the right term before you start. If you are setting up a new school year, create the term first.
- On the SIS and LMS page, click Import next to the connection. After the first import, the button reads Re-import.
- Under Edlink Import Options, turn on any filters you need. The cards under Review your data to be imported show included and excluded people and classes. Click a card to see the list and why anyone was excluded. Also check the import warnings for records Flint cannot import.
- Review roles and grade levels before importing. Edit a person's Role or Grade Level, or tick several people and use Change role or Set grade levels. Use Exclude from import to leave selected people out; in the excluded list, Include removes that individual exclusion, but other filters still apply.
- Click Next and confirm. Flint saves the filters and corrections for this connection and reuses them for future imports. Where a filter can be expressed as an Edlink sharing rule, Flint writes it back to Edlink too.
- On How should imported classes be set up?, choose Access permissions and Status for new classes. To keep rosters current, turn on Automatically keep [term name] in sync and confirm with Turn on automatic sync. To import only when you choose, keep the switch off or turn it off; Update existing classes and Fields to update then let you choose which existing class settings to replace.
- On Ready to import, check the counts and removal consequences, tick I've reviewed the data and I'm ready to import, and click Import.
- Flint shows Import complete! with a summary. Click Done.
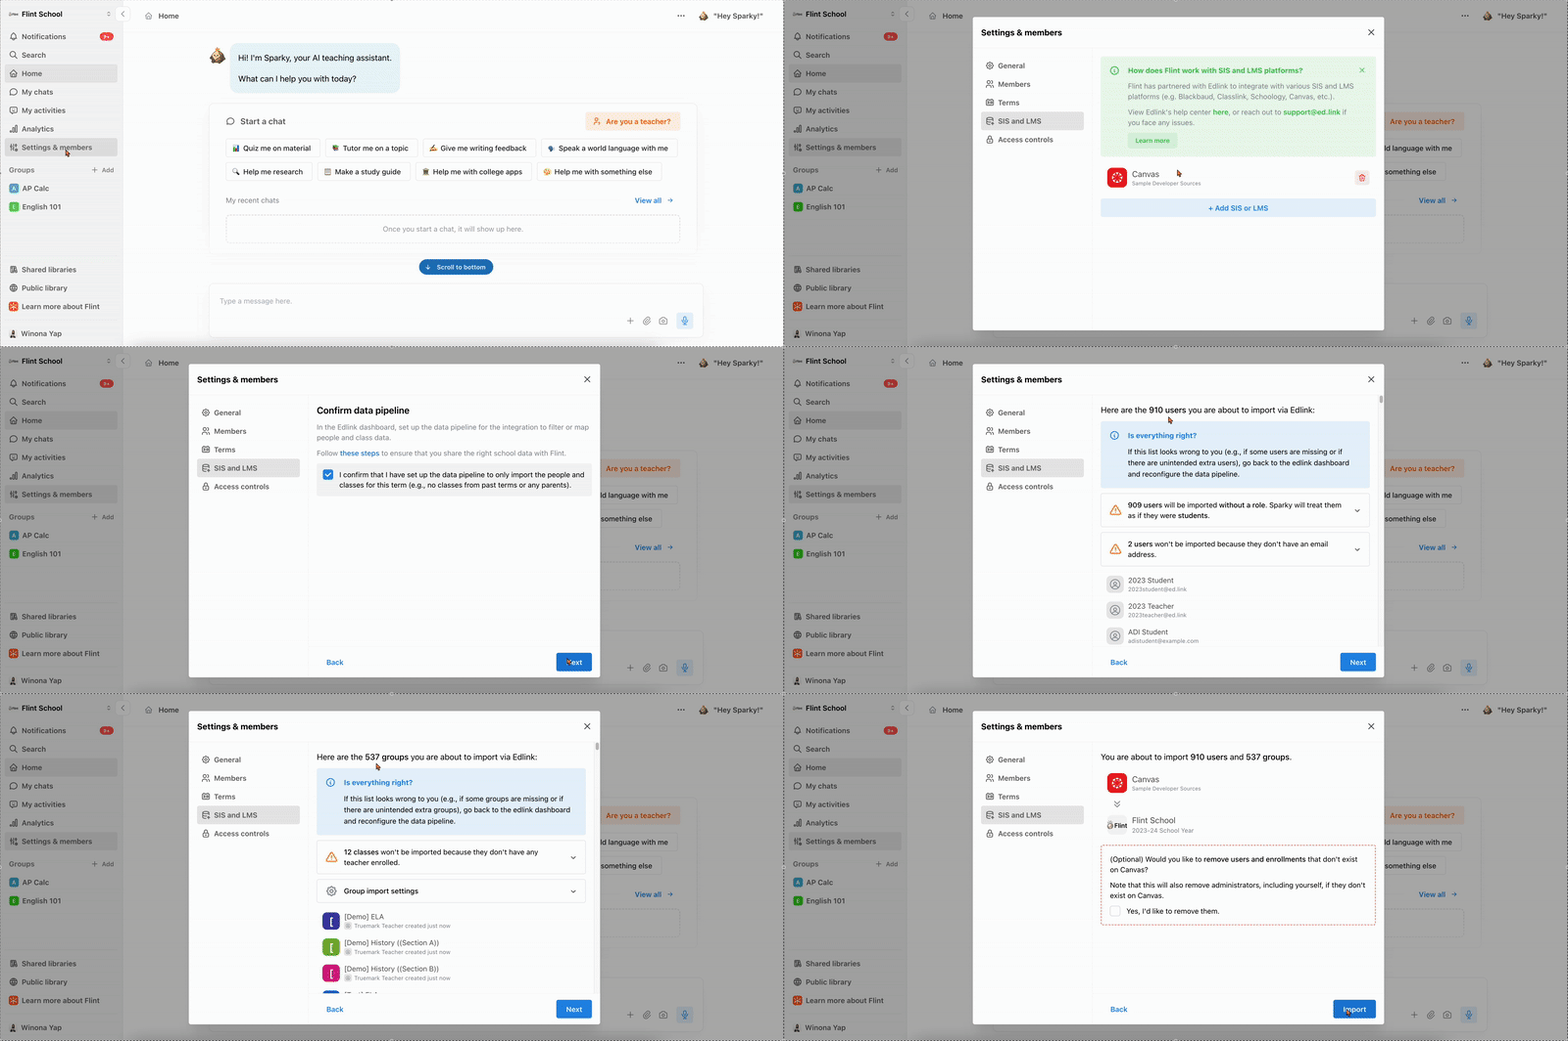
This recording shows an earlier version of the import, with a "Confirm data pipeline" step that no longer exists. The numbered steps above are the current ones; a new recording is on the way.
Check removal settings before confirming
With automatic sync on, this reviewed import also removes people and enrollments previously managed by this connection that are now missing from the reviewed roster. People added by hand outside the connection's managed roster remain, and existing class settings are preserved. Review exclusions carefully: someone you exclude can become a managed removal on the next import.
With automatic sync off, Ready to import offers a separate removal checkbox, off by default. That manual option is broader: people missing from the import, including those excluded by filters or added by hand, can be removed from the term; you are kept. Missing class enrollments are removed too, and imported admins become moderators for every grade. Leave the checkbox off unless you intend that broader replacement.
How corrections carry forward
Role and grade-level corrections change what Flint imports, not your SIS or LMS records. Flint reuses those saved corrections for later re-imports and automatic syncs. Select corrected people and use Reset to Edlink to return to source values. Once the source sends the corrected value and a successful import confirms it, Flint retires that saved correction.
What you can filter on
Filters are optional — with none turned on, Flint imports all importable data Edlink shares. Flint skips people with missing, invalid or duplicate email addresses. Classes need a name and an enrolled teacher with an importable email address; check the import warnings for these exclusions.
You can narrow people by role, email address or domain, grade level, and graduation year; narrow classes by school or division, term and class status, subject, words in the class or course name, specific courses and classes, and teacher; and leave out anyone who is not enrolled in a class.
If you would rather control this on the Edlink side, see Edlink sharing rules.
After the import
- Go to Admin → Settings → People and check the roles. People with no role are treated as students until you give them one — see assigning roles to students and teachers.
- If the import invited new people to the active term, Flint offers to email them. Choose Send emails to send the invitations now, or Not now to skip.
Keeping rosters up to date
Automatic sync
After you enable automatic sync and finish the reviewed import, Flint checks Edlink twice a day. Changes reach Flint only after Edlink has a new completed data update; the checks do not promise an exact delivery time. Flint uses your saved filters, exclusions and corrections, adds new people and enrollments, and removes only missing people and enrollments managed by that connection. Manually added people and enrollments outside that managed roster remain, and existing class settings stay as they are; your chosen class settings apply to new classes.
Automatic sync runs only while the selected term is the school's active term. An inactive term shows Auto-sync waiting; you can still import manually, and automatic checks resume when that term becomes active again. A new school-year term needs its own reviewed import and automatic-sync setup.
Flint pauses automatic sync and emails the person who enabled it if the roster changes substantially, a managed admin or owner would be removed, or Edlink supplies no importable people or no importable classes. The connection shows Auto-sync paused with the reason. Check your source and sharing rules, select Re-import, review the roster and removals, and complete the import with automatic sync on to resume. A failed run is recorded in sync history; not every failure pauses automatic sync.
To stop automatic updates, open the connection's … menu and select Turn off automatic sync, then Turn off. You can still re-import manually or enable automatic sync again during a later import.
Manual re-imports and history
Click Re-import whenever you want to review and apply source changes yourself. Saved filters, exclusions and corrections are already in place. If someone is missing, check both the import warnings and the excluded lists under Review your data to be imported.
Each connection's … menu has SIS to Edlink sync history and Edlink to Flint sync history. The latter distinguishes manual and automatic runs. Contact Edlink support is on the page when you need help with the source connection.